How to Make a Pendant from Scratch: A Straightforward Guide
1 year ago 1679
There’s something special about crafting something with your hands. It’s simple, clear, and rewarding. If you’re curious about how to make a pendant, whether it’s for yourself or someone else, I’ve got you. This isn’t a course or a complicated walkthrough. It’s just me walking you through the process in a way that’s easy to follow and gets the job done.
You don’t need fancy tools, expensive materials, or years of experience. All you need is a bit of time, a few supplies, and a clear idea of what you want. I’ll show you how to keep it affordable, practical, and personal. Let’s get into it.
To make things easy, all you need is some materials and tools to begin with. Picture a pendant base, a chain or cord, adhesive, (if you’re working with gemstones or resin), and basic jewelry tools such as pliers and wire cutters.
Some people prefer polymer clay, others prefer metal blanks or wire. You can use anything that suits your style and what you have. If you’re looking for an easy way, then resin pendants are perfect for a beginner. If you enjoy shaping with your hands, it is possible that clay is for you. There isn’t a certain way to do this.
Don’t overthink this step. If you are new, use cheap materials. You may use copper or aluminum, clay or even wood. These are easier to manipulate and if you mess up, they are forgiving.
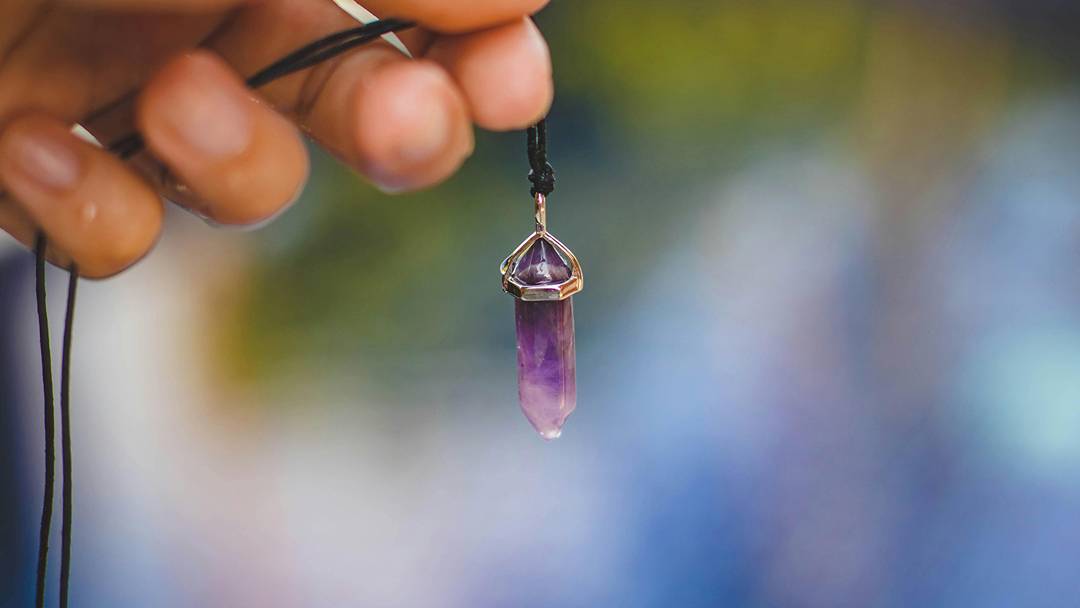
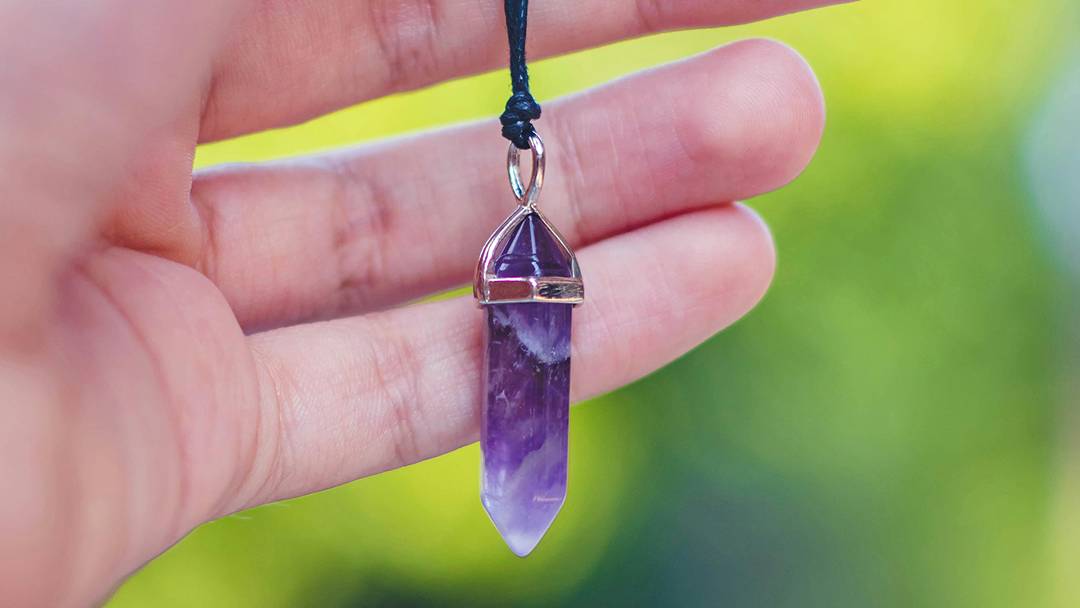
If you’re aiming for something elegant but still personal, custom Moissanite pendants are a great option to try. They offer sparkle, look high-end, and you can pair them with metal, clay, or resin bases to match your style. It’s an easy way to blend DIY with a luxe finish.
Heavy pendants can be annoying to wear. Always think about how much the final piece will weigh. If you're using metal, go thin. If it's clay, keep it small. Lighter is better.
Bright colors pop, but neutral tones go with everything. You can mix pigments into resin or clay, or paint the surface after it’s cured. Try not to overload the design. A simple combo usually looks cleaner.
If you want something that won’t rust or cause skin reactions, avoid nickel or low-quality metals. Stainless steel or coated copper is safer. If you're allergic to metal altogether, a leather or waxed cord with a clay pendant might be a better choice.
This is where your creativity kicks in. Whether you're using clay, metal, or wire, shaping is what gives your pendant its look. No need to make it perfect. Handmade things are meant to show your touch.
For clay, roll it out, press it flat, and cut out your shape. You can use cookie cutters or freehand it. For metal, sketch the shape, then use a jeweler's saw or strong scissors to cut it. If you're using wire, bend it into form with pliers.
After shaping, you want smooth edges. Use sandpaper, a nail file, or even a Dremel if you have one. Smooth edges make your piece more comfortable to wear and give it a cleaner finish.
You can stamp clay, hammer metal, or twist wire to add details. Want to press a leaf or cloth texture into clay? Go for it. Want to hammer a pattern into metal? Use a hard surface and a simple tool.
You’ll need a way to hang the pendant. Drill a hole before baking clay, or use a jump ring on metal. If using wire, loop it as part of the design. Make sure it’s strong enough to hold up over time.
Depending on what you made, the next step is hardening the pendant. Clay needs baking, resin needs curing, and metal may just need polishing.
Put polymer clay in a regular oven. Follow the package directions, usually around 275°F for 15-30 minutes. Resin needs a UV light or time to sit and cure on its own. Metal doesn't need baking, but you can polish it after shaping.
Let your pendant cool or cure fully before touching it. If you move it too soon, it might bend, crack, or stay sticky. Patience saves you from having to redo it.
For clay, use a glaze to make it shiny. For metal, use a clear coat to prevent tarnishing. Resin doesn’t need much, but you can polish it with a soft cloth if it’s dull.
Make sure the pendant feels solid, smooth, and doesn’t have any weak spots. If something feels loose, reinforce it. You don’t want the pendant to fall apart later.
Now that your piece is solid and dry, it’s time to put it all together. Take a simple chain, leather cord, or waxed thread and add the pendant using a jump ring or loop.
Use pliers to open the ring, slide in the pendant, then close it tightly. Check that the clasp on your chain or cord works well. You want something strong but comfortable.
Short chains keep the pendant closer to your neck. Long cords give a more casual look. You can try it on and adjust if needed. Just make sure the pendant sits where you want it to.
Put it on, move around, and see how it feels. If anything pulls or feels uneven, fix it now. It's easier to tweak it before giving it away or wearing it out.
Keep your pendant in a small box or pouch. If it’s a gift, you can add a handwritten note or card. Simple things go a long way in making it personal.
You’ve got the basics down. If you want to go a little further, try mixing in other materials. Add a second layer of clay for depth. Glue on a small gem or bead. Wrap the edges in wire.
People on Reddit love adding dried flowers or using glitter in resin for a personal touch. You could even make a set of pendants using different materials and give them out to friends.
You can also try engraving initials, stamping patterns, or even using glow-in-the-dark powders. Try new shapes, round, triangle, teardrop, and see which ones look best.
Keep your design focused. One or two details stand out more than five that clash. It’s okay to keep things clean. Simplicity often looks better and feels easier to wear.
Don’t use wet or soft clay without conditioning it. Avoid touching the resin too early. Never force metal if it feels too hard; it could snap. And always test your glue before sealing it shut.
Also, check that your jump rings are closed tightly. Loose pieces fall off quickly. Watch for fingerprints on wet surfaces, and clean your tools before each step.
Your first pendant might look rough. That’s normal. The next one will be better. Each time you do this, your hands will remember the steps. Before long, you’ll make pendants without even thinking about the process.
It usually takes one to two hours, including shaping and curing time.
Polymer clay is simple to work with and doesn’t need special tools.
Yes, many people use buttons, shells, or coins as pendants.
No, basic tools like pliers and glue are enough for your first few pieces.
If sealed and cured properly, your pendant should last a long time.
If you made it this far, you’re more than ready to make your first pendant. I’ve walked you through the whole process in plain steps. Now it’s your turn. Make one that reflects your style, try a few variations, and enjoy the satisfaction of making something yourself.
There’s no rule that says you have to be perfect. You just have to start. And honestly, that’s the best part of it.
Comments (0)